What is Nano Server?
Nano Server is a new installation option in Windows Server 2016, which cannot be installed the normal way. Nano Server is an operating system optimised for private clouds and data centres and can only be administered remotely. It is similar to Windows Server Core, but is a lot smaller, has no local logon capability, and only supports 64 bit applications, tools, and agents. It takes up far less disk space, installs faster, and requires less updates and restarts. Microsoft has said they expect Windows Nano Server will need maybe 2 reboots a year! The restarts are much faster too. Nano server can be installed in either Standard or Datacenter editions of Windows Server 2016.
Nano Server is ideal for a number of scenarios:
As a “compute” host for Hyper-V virtual machines, either in clusters or not
As a storage host for Scale-Out File Server.
As a DNS server
As a web server running Internet Information Services (IIS)
As a host for applications that are developed using cloud application patterns and run in a container or virtual machine guest operating system
Create a Nano Server Image.
First, you will need to download the Windows Server 2016 ISO from here.
Mount the ISO.

Copy the folder NanoServer to the root of C:\
This can be done via an elevated Powershell window using the following command. NOTE: Remember the media in this step-by-step was mounted to drive D. This command copy the required bits and drop it in Drive C: to build the required image. Change Drive letters to what your system is using.
Copy-Item -Path D:\NanoServer\ -Destination C:\NanoServer\ -Recurse

In the same PowerShell window navigate to the folder where we copied the files from the ISO to. If you used the above PowerShell command it will be c:\NanoServer
Cd C:\NanoServer

Import the Nano server module
Import-Module .\NanoServerImageGenerator\NanoServerImageGenerator.psd1

Create a Nano Server Image by using the following cmdlet. This will create a VHD of Standard Nano ready for a virtual environment.
New-NanoServerImage -DeploymentType Guest -Edition Standard –MediaPath D:\ -BasePath .\Base -TargetPath .\PIXEL-NANO01.vhdx -EnableRemoteManagementPort -ComputerName PIXEL-NANO01
The cmdlet will accomplish all of these tasks:
-
Select Standard as a base edition
Prompt you for the Administrator password
Copy installation media from the mounted ISO into .\Base
Convert the WIM image to a VHD. (The file extension of the target path argument determines whether it creates an MBR-based VHD for Generation 1 virtual machines versus a GPT-based VHDX for Generation 2 virtual machines.)
Copy the resulting VHD into .\PIXEL-NANO01.vhdx
Enable Remote Management
Set the Administrator password for the image as specified
Set the computer name of the image to PIXEL-NANO01
Install the Hyper-V guest drivers
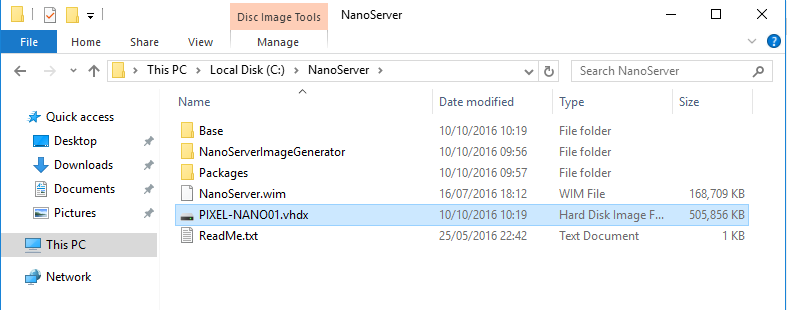
All of this results in an image of .\PIXEL-NANO01.vhdx.


You have now created a basic Nano Server image ready to be used in Hyper-V.
You can also create Nano Server Images including other roles. For a list of roles click here.
To Install the DNS role you can use the following cmdlet
New-NanoServerImage -DeploymentType Guest -Edition Standard –MediaPath E:\ -BasePath .\Base -TargetPath .\PIXEL-NANO02.vhdx -EnableRemoteManagementPort -Packages Microsoft-NanoServer-DNS-Package -ComputerName PIXEL-NANO02
You should notice the addition of -Packages Microsoft-NanoServer-DNS-Package. This is what installs the DNS Role.
Now you have your Nano Server Image. We will need to set IP address to be able to manage it. I will go in depth on setting an IP address and managing Nano Server in another article. Have a play around with your new Nano server and let me know what you think.
[AdSense-A]


0 Comments