Reading Time: 3 minutes

In this article, I am going to try and explain what a VNet in Azure is and also show you how to create one.

What is a VNET

A VNet (Azure virtual network) is basically your own network in Azure. You are able to configure your Azure network settings and define DHCP address blocks, DNS settings, security policies, and routeing. You can also use subnets. Because of this, you are able to deploy Azure IaaS virtual machines (VMs) and PaaS role instances the same way you would in your on-premises infrastructure. You can even expand your network to Azure, bringing your own IP address blocks.

Read the Microsoft guide virtual network overview if you are not familiar with VNets.

How to Create a VNet

Log in to your Azure Subscription by going to https://portal.azure.com

Click the green + and then Search for Virtual network

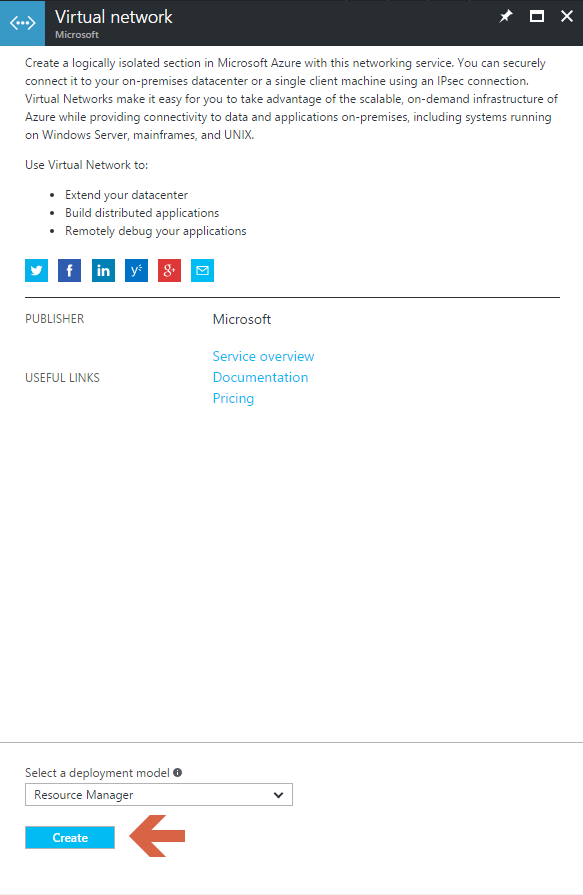
Click Virtual Network

Ensure Resource Manager is selected and then click Create

You should now be presented with a screen like this

What does each attribute mean?

  • Name – The name must begin with a letter or a number, end with a letter, number or underscore, and may contain only letters, numbers, underscores, periods, or hyphens. It also has to be between 2 and 64 characters long.
  • Address Space – Range of the IP Address that could be assigned to devices within the network. In CIDR notation.
  • Subnet name – The name must begin with a letter or a number, end with a letter, number or underscore, and may contain only letters, numbers, underscores, periods, or hyphens.
  • Subnet address range – The subnet’s address range in CIDR notation. It must be contained by the address space of the virtual network. The address range of a subnet which is in use can’t be edited.
  • Subscription – This is where you can select which subscription you would like the VNet added to.
  • Resource group – You can either create a new Resource group or select an existing.
  • Location – This is where you can select which Azure data centre you want your new VNet created in.
  • Once filled in you should have something like

    Ensure you have green ticks and then click Create

    You have now created a Azure VNet

    [AdSense-A]

    Categories: Azure

    Pixel Robots.

    I’m Richard Hooper aka Pixel Robots. I started this blog in 2016 for a couple reasons. The first reason was basically just a place for me to store my step by step guides, troubleshooting guides and just plain ideas about being a sysadmin. The second reason was to share what I have learned and found out with other people like me. Hopefully, you can find something useful on the site.

    0 Comments

    Leave a Reply

    Avatar placeholder

    Your email address will not be published. Required fields are marked *